Importing Historic paper records
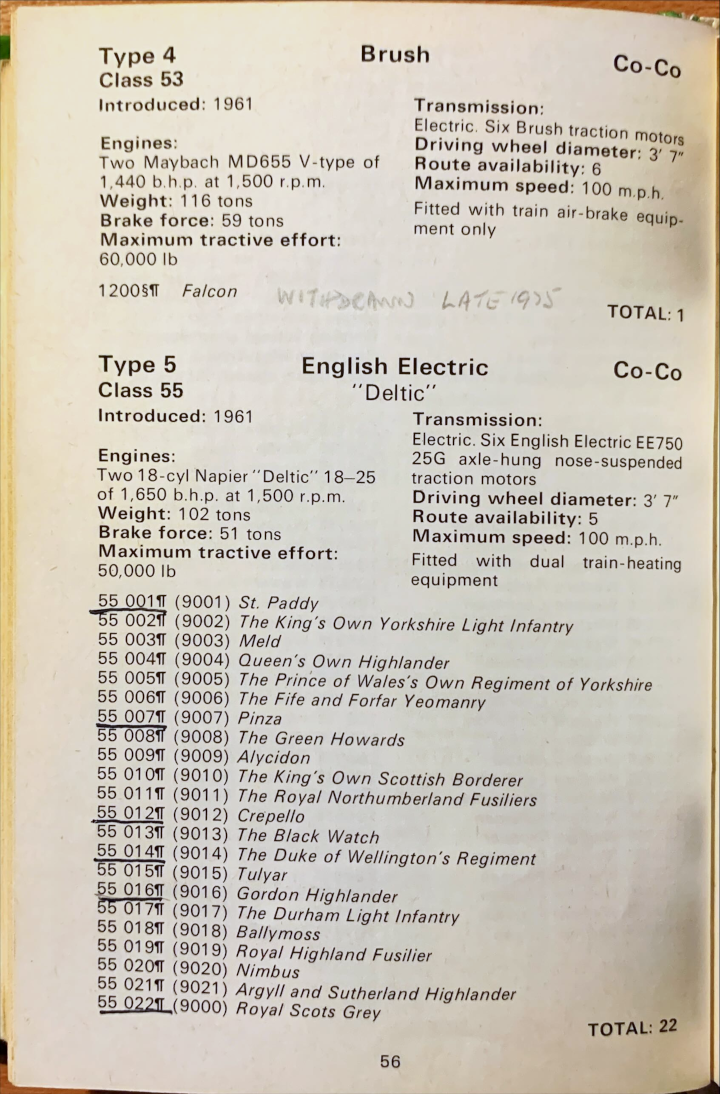
Many users want to import old records from paper notebooks into SpotLog (I wish I still had my notebooks from the '70s and '80s!)
There are several ways to do this, including:
- If you just have loco's ticked off in a spotting book the best route is to use SpotLog Marked Locos
- If you have detailed records with dates and location, an import may be the best route.
- Import from (digital) photographs
Before starting to import old records, download the relevant data sets, eg
- UK (UK mainline since 2000)
- UK70 (UK mainline 1970-2000)
- UKCS (UK coaches since 2000)
- UKP (UK preserved locos and units)
Marking Loco's from an old book
To enter numbers from an old spotting book, Spotlog Marked Locos is a quick and easy way to enter the locos.
- Open the relevant class in the Book:
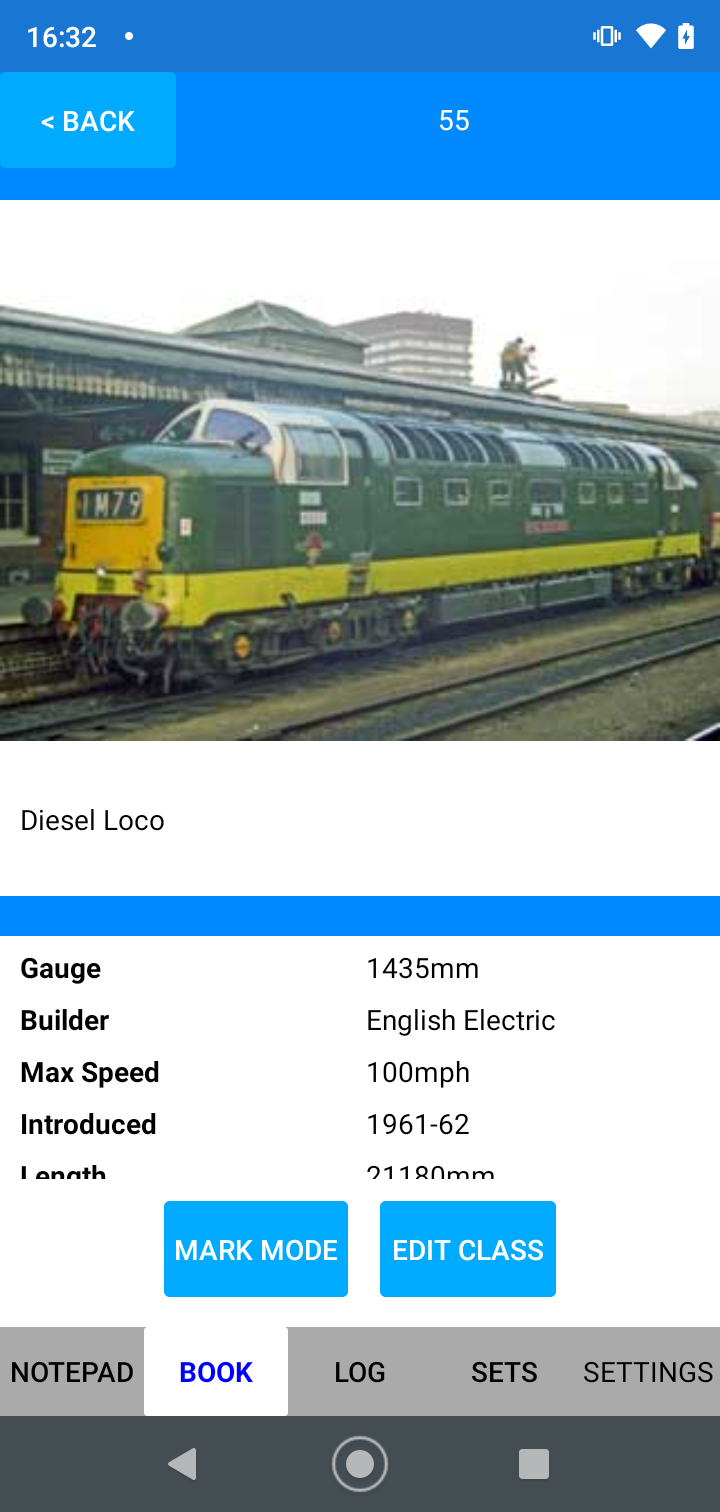
- Scroll down to the loco list
- Tap "Mark Mode": the list changes to the loco marking mode. See Marked Locos.
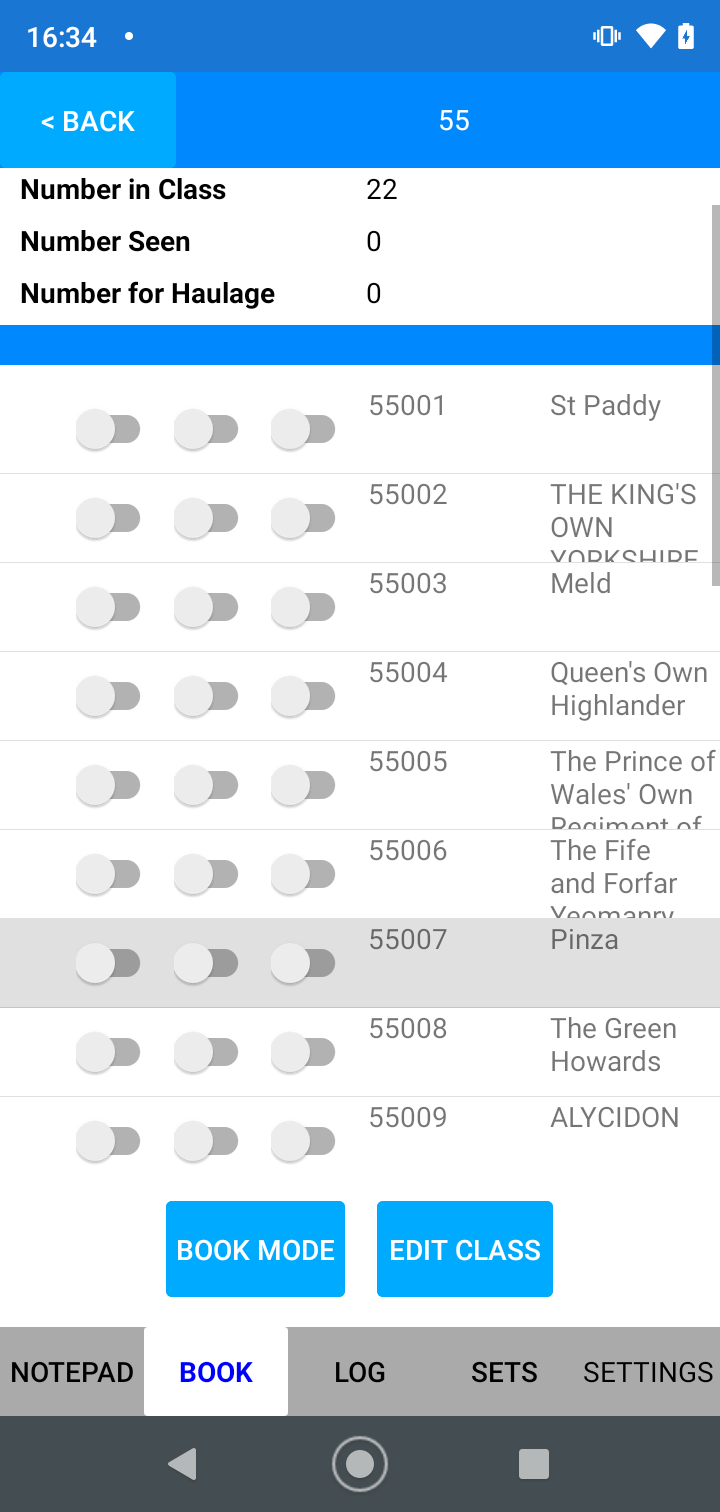
- You can now quickly select the loco's seen (and if you have the data, photographed or haulage)
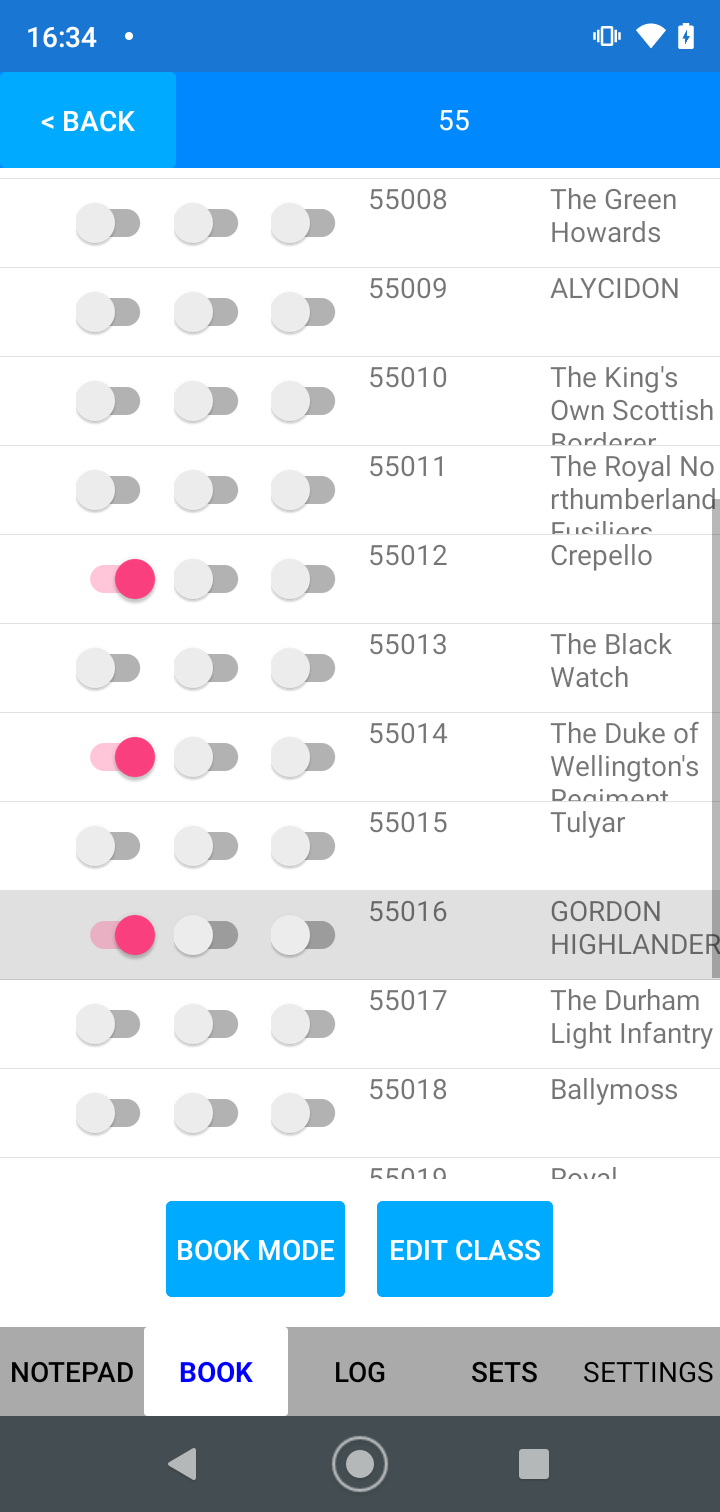
- When complete for this class, tap "Book Mode" to exit mark mode and return to the usual view.

- repeat for any other classes as required.
Importing old records with dates and locations
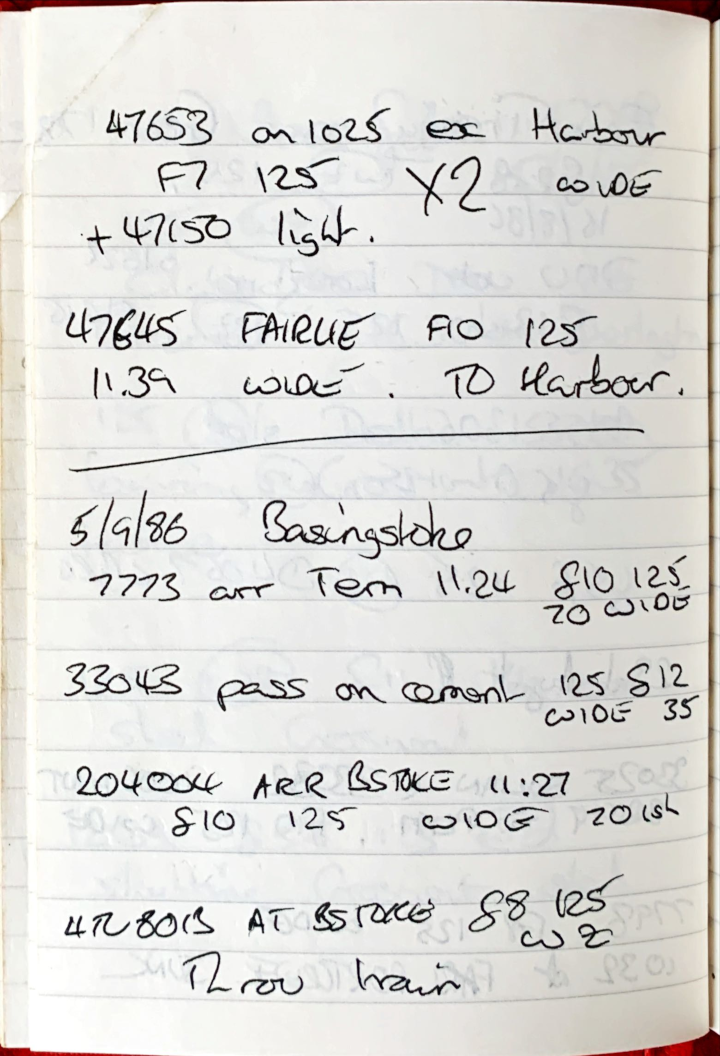
If you have old records with dates and locations, an import may be the easiest way to get the numbers into SpotLog. The process for creating an import using MS Excel is as follows
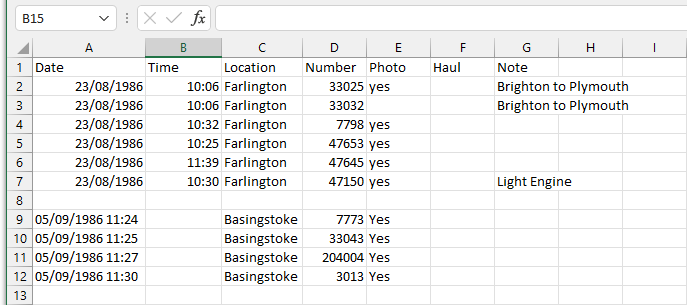
- Create a new Excel spreadsheet with the following columns:
- Date
- Time
- Location
- Number
- Photo
- Haul
- Note
- The order of the columns, or the case of the column names does not matter.
- Enter the numbers to import in the spreadsheet:
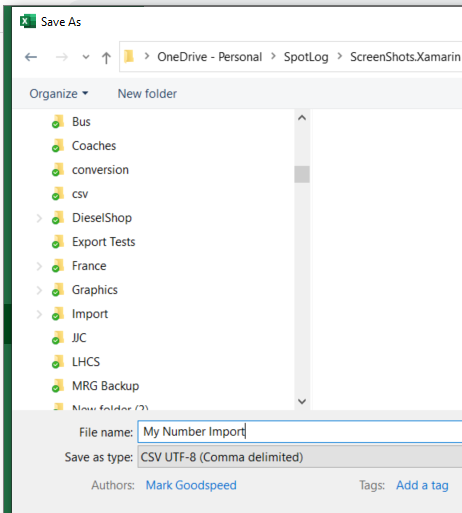
- Save the sheet as a CSV file (comma delimited)
Notes:
- For "Photo" and "Haul" columns, you can enter "1", "Yes" or "True" to set these values
- Time can be entered as part of the date field, or as a separate column. Using Excel a separate column may be easier.
- You can also include a "Hold" column if you want an entry to be held in the NotePad and not processed.
Importing the file
- Copy the file to your device, there are various ways to do this, including:
- Connect your device to a computer by cable and copy the CSV file to the device
- Email the file to your device, open the email and save the file
- Use a cloud file sharing service like iCloud or OneDrive that you can access on your device
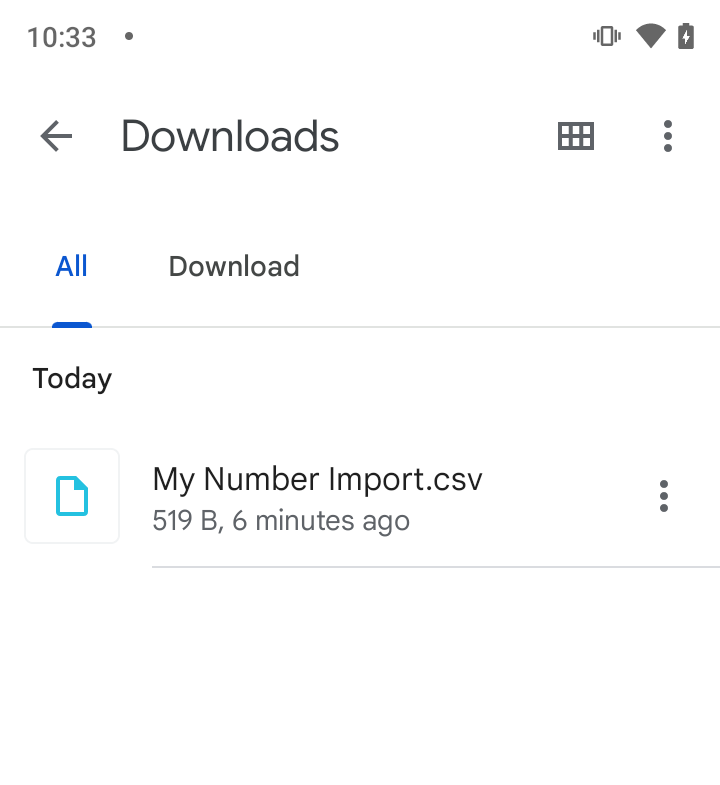
- whichever method you use, make sure you know where the file is saved on your device. In this example, I used method (1) - connect the device to a computer, and copy the file to the device. I copied this file to the "Downloads" folder on my Android device.
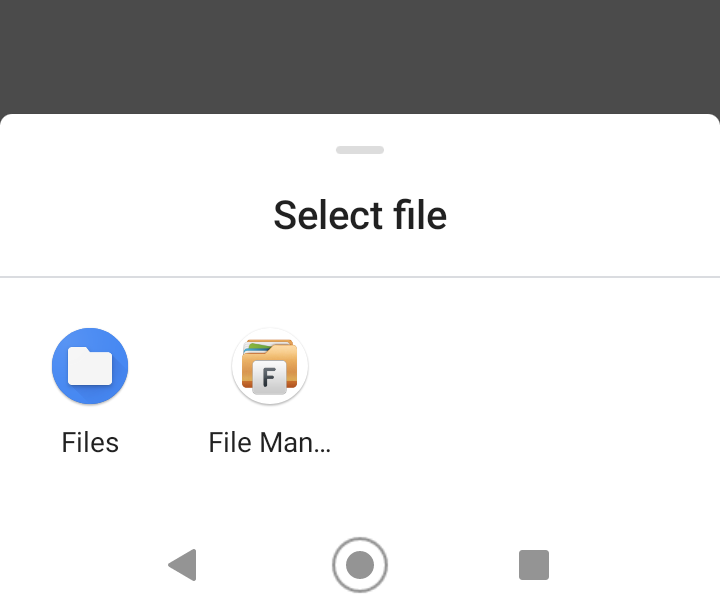
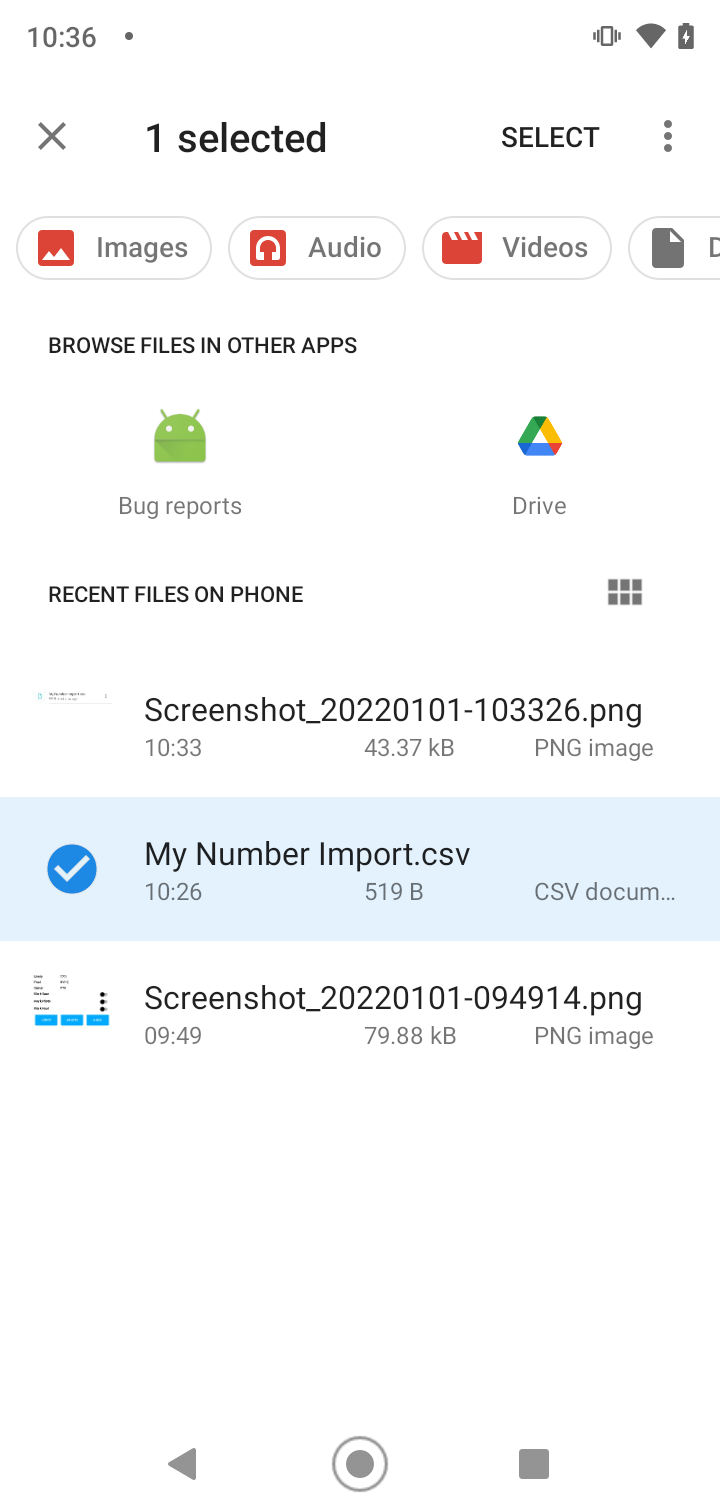
- Open SpotLog, open the "Settings" page, scroll down to "Log" and tap the "Import" button.
- Use the Select file dialog to find the file on the device, and select it:
- Once SpotLog has imported the file, you will find the numbers in the NotePad
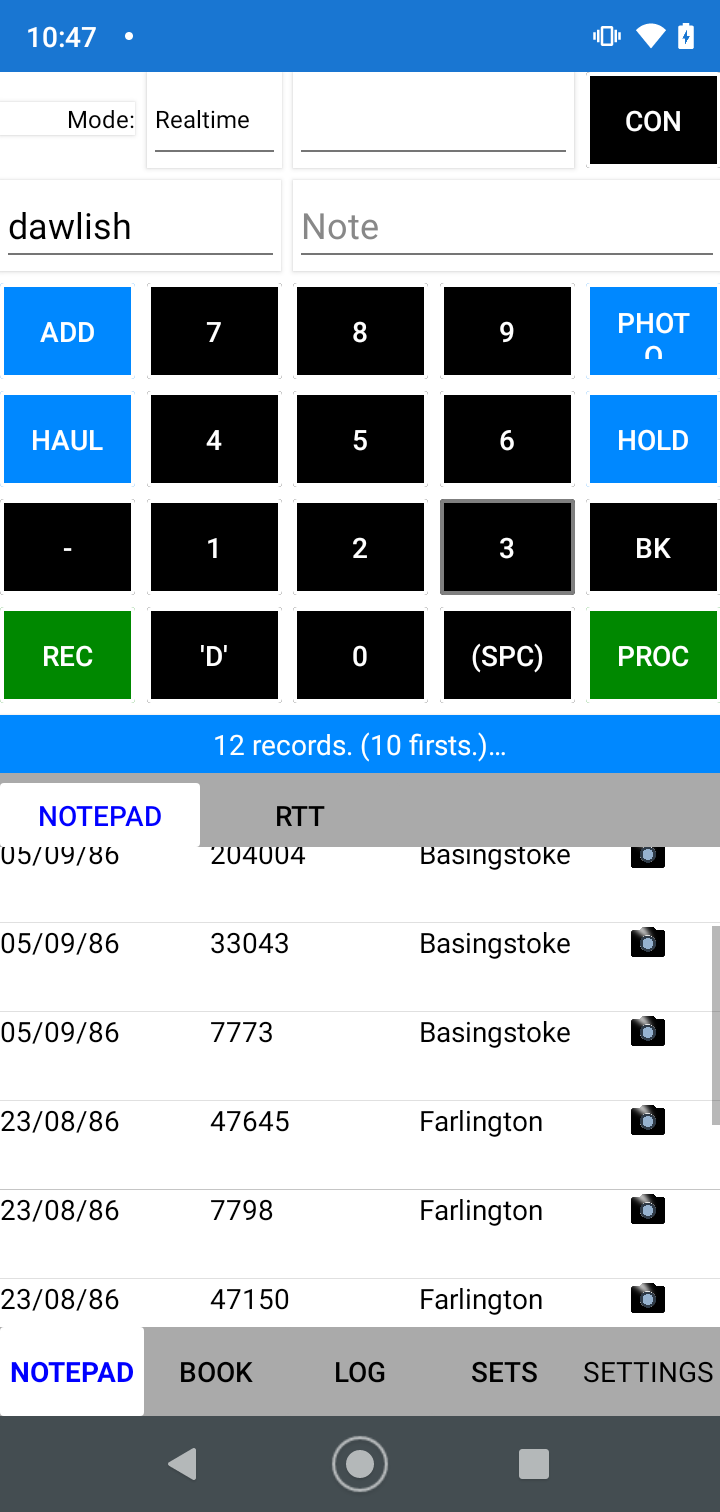
- You can tap any of the entries to check the details:
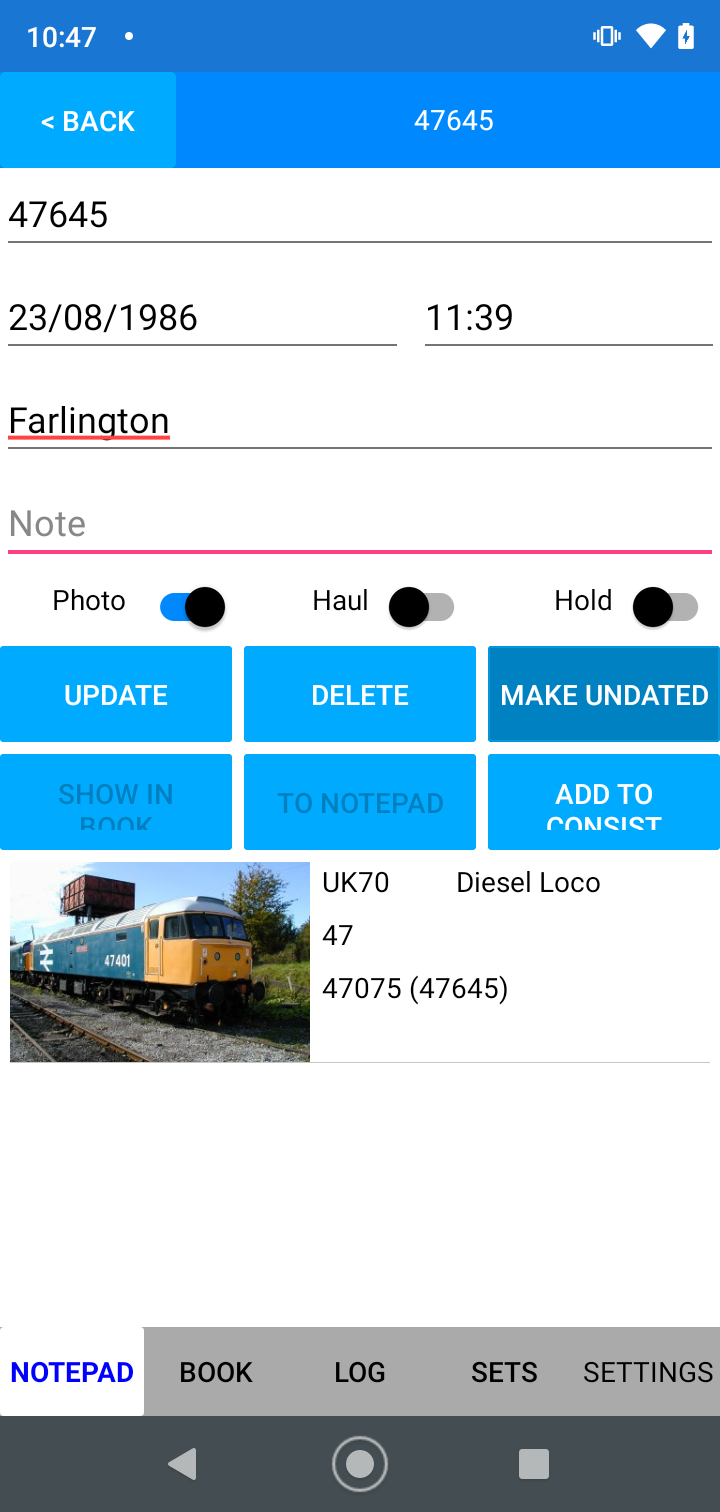
- Now tap the "Proc" button to process the records and match them to book entries, see Matching. SpotLog will process the records and move matched items to the Log

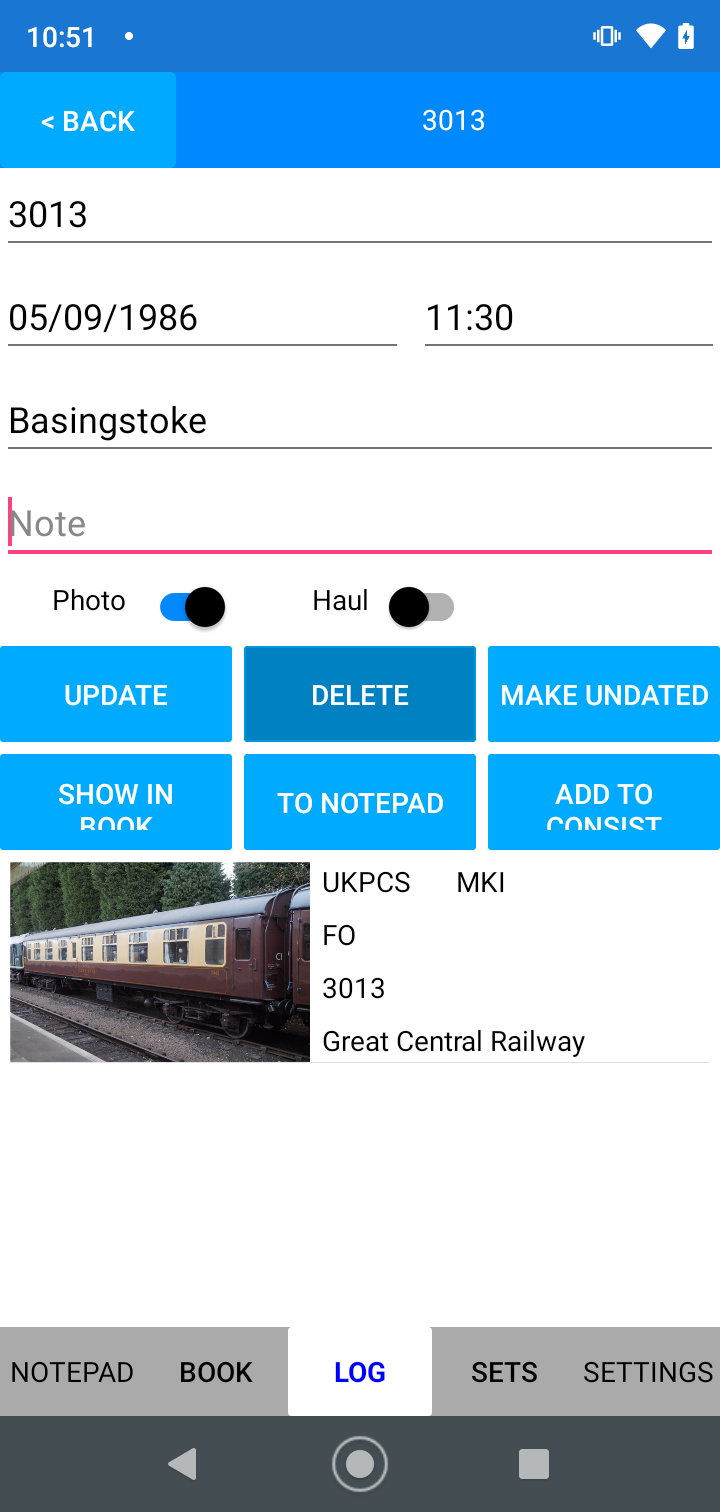
- Here we can see the 47s and the 33s have correctly matched, but "3013" a 4REP, has been matched to a preserved coach, not a 4REP unit. (Not surprising as we don't have the 4REPs in SpotLog yet)
- So for the entry for 3013, I open the entry from the Log and using Edit Record tap the "To NotePad" button to move the record back to the notepad:
See Also:
Importing from photographs
SpotLog "PhotoLogger" is a standalone windows app that can be used to extract information from digital photo's and prepare them for import into SpotLog.

Using PhotoLogger
- Open the PhotoLogger tool
- Click the "Browse" button and select the folder containing the JPEGs you want to look at.
- Use the "Prev" "Next" "First" and "Last" buttons to navigate from photo to photo.
- You can use the mouse wheel to zoom in or out - eg to zoom in on the number in a photo.
- For each photo, PhotoLogger extracts info from the JPEG EXIF data, and displays it in the panels on the left of the form. Info includes:
- Exposure
- Camera type
- Date and time of the photo
- You can enter information in the boxes on the right, including:
- The number, if you need to enter multiple numbers seperate the numbers with a comma
- The location
- Any note
- Only the number is required, all other fields are optional
- When you navigate to a new photo, the information is recorded, the number field is cleared, the other fields are retained.
- When you have finished with the photo's in the folder, close the PhotoLogger app.
- The PhotoLogger creates an XML import file in the photo folder called "PhotoLogger.xml"
- If you re-open PhotoLogge and browse to the same folder, it will read any previous PhotoLogger.XML file and resume the process from where you previously left it.
Example PhotoLogger output:
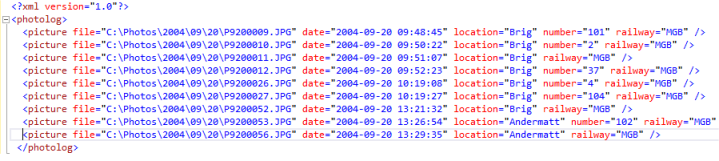

Copy this file to your device and import into SpotLog using the Import function (see Import and Export). SpotLog will import the records with the date, railway, location and note into the NotePad. You can then use the Process function to process the numbers into your log.
Please contact support@spotlog.org is you are interested in using the PhotoLogger tool.
About
About page
Alternate Numbers
App Files
Backup
Book
Book Search
Consist
Custom Book
Custom Set Example
Deduplication
Depot View
Disambiguation
Download Datasets
Edit Record
Entering Numbers
Entry mode
EVN and UIC Numbers
Export Locos
Formation Numbers
Getting Started with V5
Glossary
GPS location
Import and Export
Importing Historic paper records
Improved Log
Loco Records
Log
Marked Locos
Matching
Merge locos
Needed Items
NotePad
Number range
Prefixes
Preservation sites
Quick Tour
Realtime Trains
Rebuilt Locos
Recent Changes
Recording
Release Notes
Remote SQL Support
Reports
Restoring SpotLog from a device backup
Sets
Sets and Subsets
Settings
Single Loco view
SpotLog Sync Service
SpotLog v5.8
SpotLogV5
Statistics
SubClasses
Sync
Synckey
Themes
Undated Records
Updates
Upgrading from TrainSpotter
Upgrading to V5
V5 FAQs
v5.1.10
v5.1.16
v5.1.18
What's New